

Choose the finish.
Understand the layers.
Start with the surface you like. See how it sits beside the other finishes, then look beneath it. This guide connects each material family to the same house in our 3D Material Studio.
Explore the house in 3D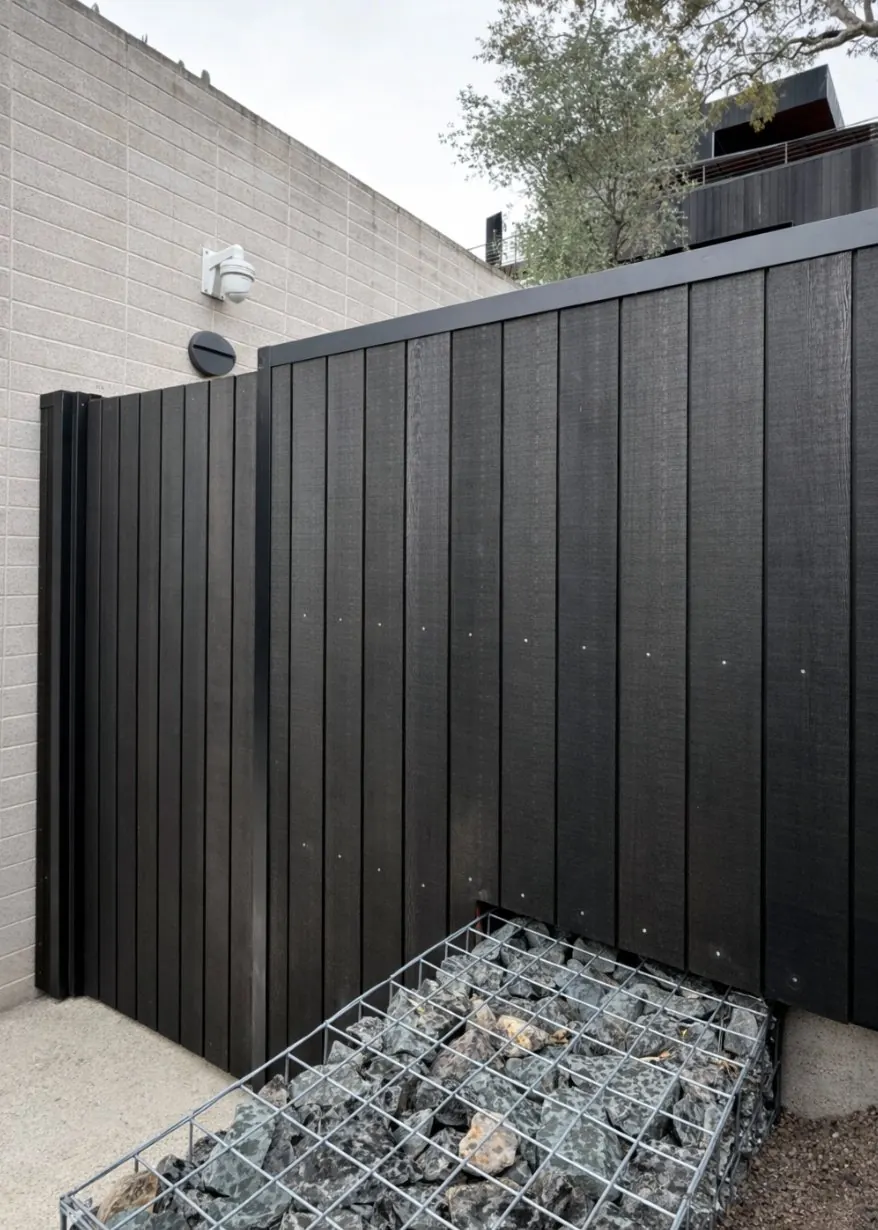
Walls and eaves
Compare timber lining, open battens and painted fibre cement on the same house. Changing the finish makes the colour, grain and shadow lines easier to compare. Reduce its coverage in the Studio to expose a schematic frame and supporting layers.
What to keep in mind
Open battens have a different build-up from a closed lining. The Studio shows a dark backing board behind the decorative battens. The selected product and its installation guide determine the finished detail.
Roofing
Compare standing seam steel, corrugated steel, zinc, concrete tiles and terracotta tiles in the same light. Tile choices are priced on request. Draw the roof covering back to see schematic battens, sarking and rafters. On the bungalow, its low-pitch extension roof stays metal.
What to keep in mind
The reveal explains the sequence of layers. It does not set roof pitch, member sizes, fixings or a weatherproofing detail for your project.
Decking
Compare Spotted Gum, Blackbutt, Merbau and composite boards beside the same glazing and garden. Move the coverage slider to see the joists and bearers underneath. The schematic supports explain the construction sequence.
What to keep in mind
The Material Studio compares finishes. For deck dimensions and the separate indicative deck calculation, use the deck designer. Board support spacing and fixings depend on the product and project.
Paths and paving
Compare gravel, exposed aggregate, porcelain and travertine. In the Studio, the gravel reveal includes a grid and prepared base. The exposed aggregate option reveals a concrete slab; the porcelain and stone examples show a slab-supported build-up.
What to keep in mind
These examples follow the options described in the Studio catalogue. A manufacturer may allow different installation systems. The path needs a site-specific drainage and support design.
Windows and frames
Try black aluminium, timber-aluminium and hardwood frames against your walls and roof. The reveal identifies the framed opening behind the window assembly. Morning, midday and dusk let you compare the palette under different lighting.
What to keep in mind
The model does not determine structural opening sizes, glazing performance, flashing or installation details. Those are specified for the actual building and selected window system.
Base and supporting construction
An off-form concrete base now reveals a reinforced concrete concept and a sample of temporary formwork. Charcoal panel reveals a framed enclosure. Sandstone reveals indicative stone courses and a supporting footing. They are separate examples rather than one shared timber structure.
What to keep in mind
Footings transfer building loads to the foundation material. Their design depends on the site and structure. The Studio shows a schematic section, not below-ground footing depths, reinforcement schedules or a ground investigation.
Plan what happens behind the finish.
Explore the water and services decisions that sit alongside your material choices. Open only what interests you.
Gutters and roof water
A roof needs a planned route for rainwater, from its surface to a suitable tank or drainage connection.
How the work fits together
- Plan the roof catchments, gutter outlets, downpipe positions and destination together with the roof plumber and drainage designer.
- The trade coordinates the gutter, roof edge and overflow detail, then connects the downpipes to the designed system.
- Allow for maintenance access. At handover, ask how the gutters, outlets and any tank filters will be checked and kept clear.
Ask your trade
- Where does water go if an outlet blocks or the gutter overflows?
- Can the gutters and any rainwater filters be maintained safely?
Further reading: YourHome: rainwater · Lysaght: home rainwater systems
Ground levels and stormwater
New paving and altered ground levels change where rain runs, so the landscape and drainage need to be planned together.
How the work fits together
- Review existing ground levels and water paths before settling the deck, path and garden layout.
- The designer coordinates surface drainage, any rainwater storage and a suitable stormwater destination. Permeable surfaces may help where the site allows.
- Build the agreed drainage and landscape details together, then arrange inspection of the finished routes and maintenance points.
Ask your trade
- How will the new layout affect runoff on this site and downstream?
- Which drains, tanks or planted areas will need ongoing access and upkeep?
Further reading: YourHome: stormwater
Plumbing and service routes
Knowing where existing pipes run helps the team plan an extension without obstructing services or their future access.
How the work fits together
- Identify existing water and wastewater services before finalising the building or excavation layout; confirm which plans and approvals the project needs.
- The licensed plumber and builder coordinate new routes with the structure, fixtures and access needed for maintenance.
- After installation, ask for the plumbing completion documents and a clear record of the service locations and access points.
Ask your trade
- Do existing pipes affect where the extension, deck or footings can go?
- What access and records will be provided for future maintenance?
Further reading: Sydney Water: building and renovating · Sydney Water: general plumbing information
Electrical installation planning
Planning power and lighting early gives the electrician a clearer brief before the finished surfaces close in the work.
How the work fits together
- List how you will use the rooms and outdoor spaces, then review the lighting, power and existing installation with a licensed electrician.
- Agree the electrical layout and coordinate service routes with the builder before wall and ceiling finishes are completed.
- The licensed electrician carries out and tests the wiring work. Ask for the electrical compliance certificate at handover.
Ask your trade
- What changes does the existing electrical installation need for this project?
- Who will supply the completion certificate and final electrical layout?
Further reading: YourHome: lighting design · NSW Government: electrical safety and consumer rights
Conceptual planning guidance. Your site, selected products and trade design determine the finished system. These topics do not change the model or estimate.
Before you start
Does the coverage slider change the size of the pavilion?
No. It sets your material quantity and reveals schematic layers on a fixed house. Quantities above the area shown on the model keep the whole finish visible.
Can I send my material choices to Piper Moss?
Yes. The Studio saves your palette in this browser. Use Send us your project to open the enquiry. The installed estimates for priced materials appear after the enquiry; materials marked on request are confirmed separately.
Are the revealed layers construction drawings?
No. They explain a construction concept. Member sizes, fixings, footing design, service routes and installation details still need the project design and the selected product instructions.
Further reading: YourHome: construction systems and the selected product’s current installation instructions.
Bring the palette back to your project.
Keep exploring in the Studio, then choose “Send us your project” to share the finishes and quantities with Piper Moss.
Continue in the Material Studio Talk about an extension · Talk about a new home